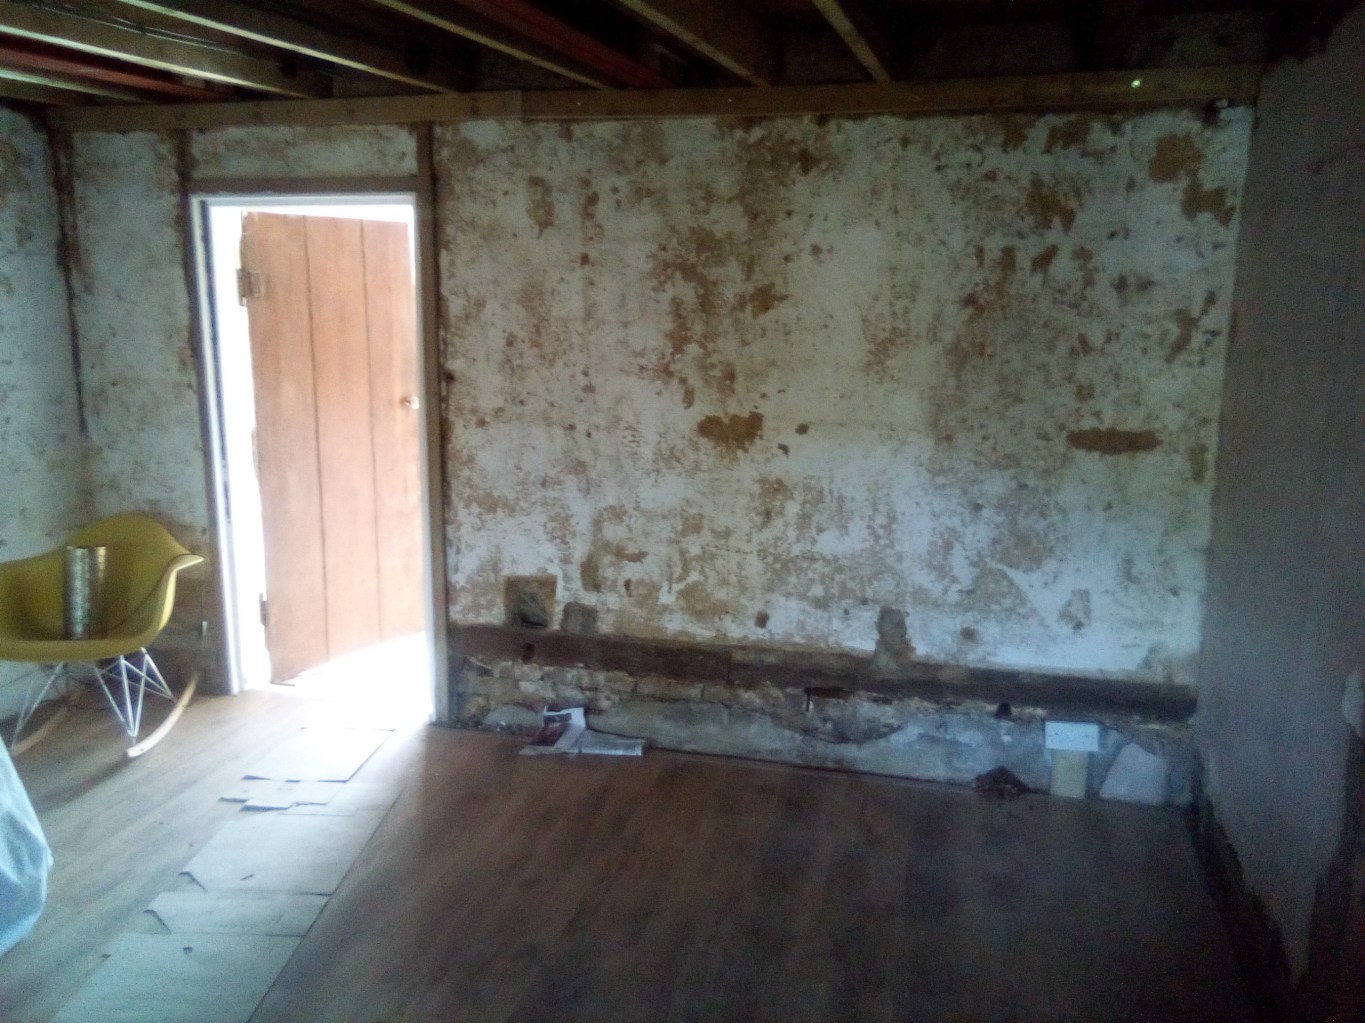
The sole plate on original back wall of the cottage (which is now an inside wall separating main room from lean-to kitchen) which was hidden on the living room side side by a faux hardboard wall and on the other by a plasterboard wall on which kitchen suite and appliances are mounted. The plate is corroded and while it might stand for 50 years says the engineer it ought to be repaired and/or replaced.
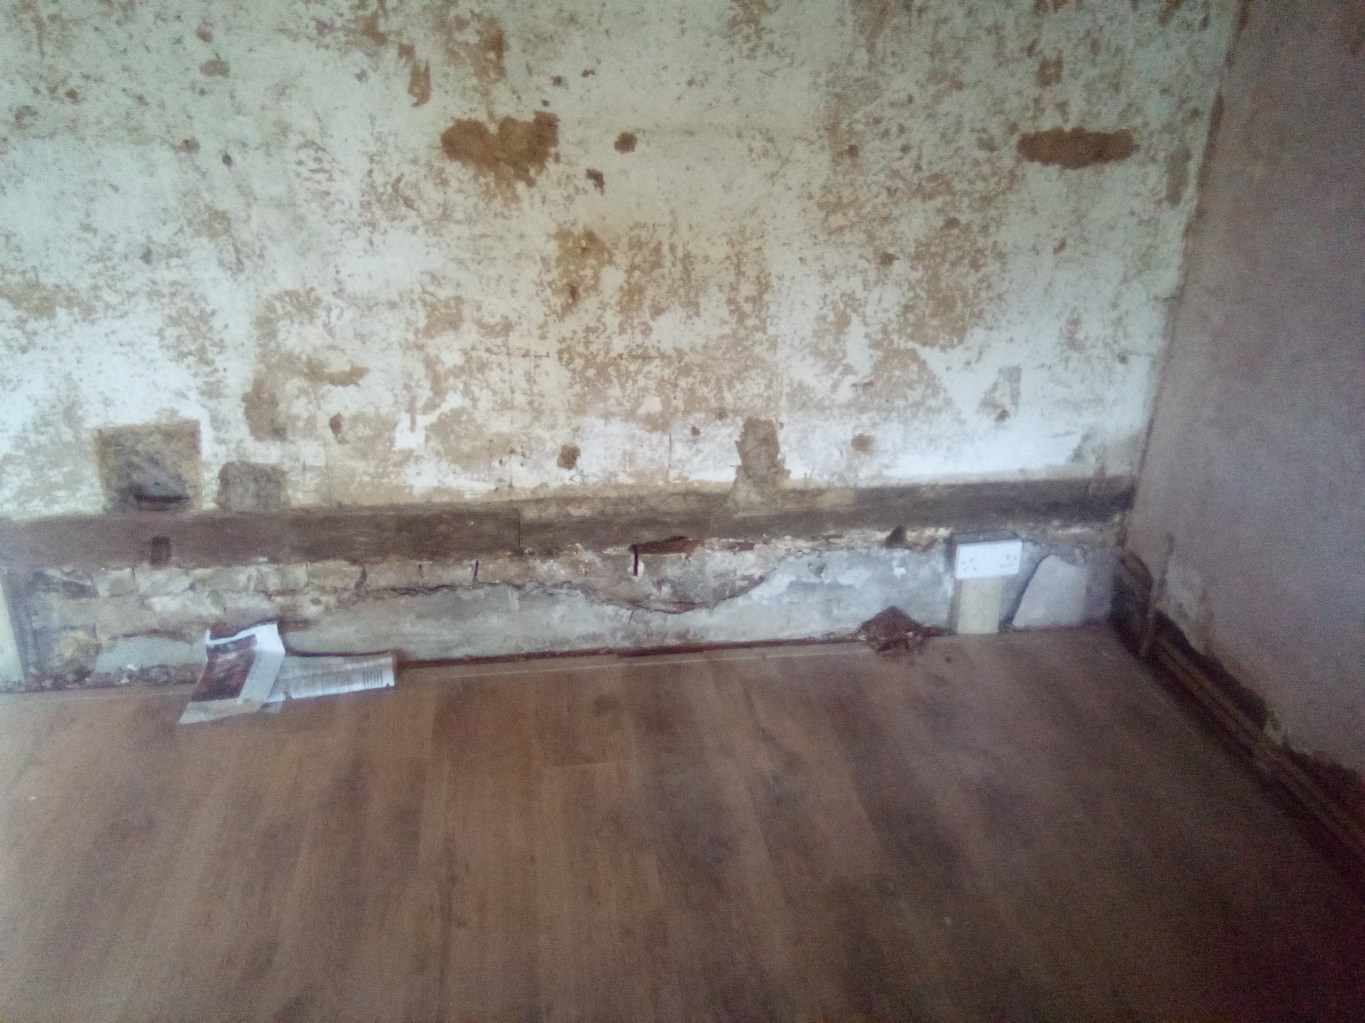
The top of the plate is hard. Immediately below the plate and on top of the brick plinth which is covered in mesh and looks like concrete about 0.25 inches deep, there is a frothy mess of white stuff: on about 5 ft of the wall its soft and handles like cream cheese – on another part of the wall where there is mesh and concreate, its dry like powder.
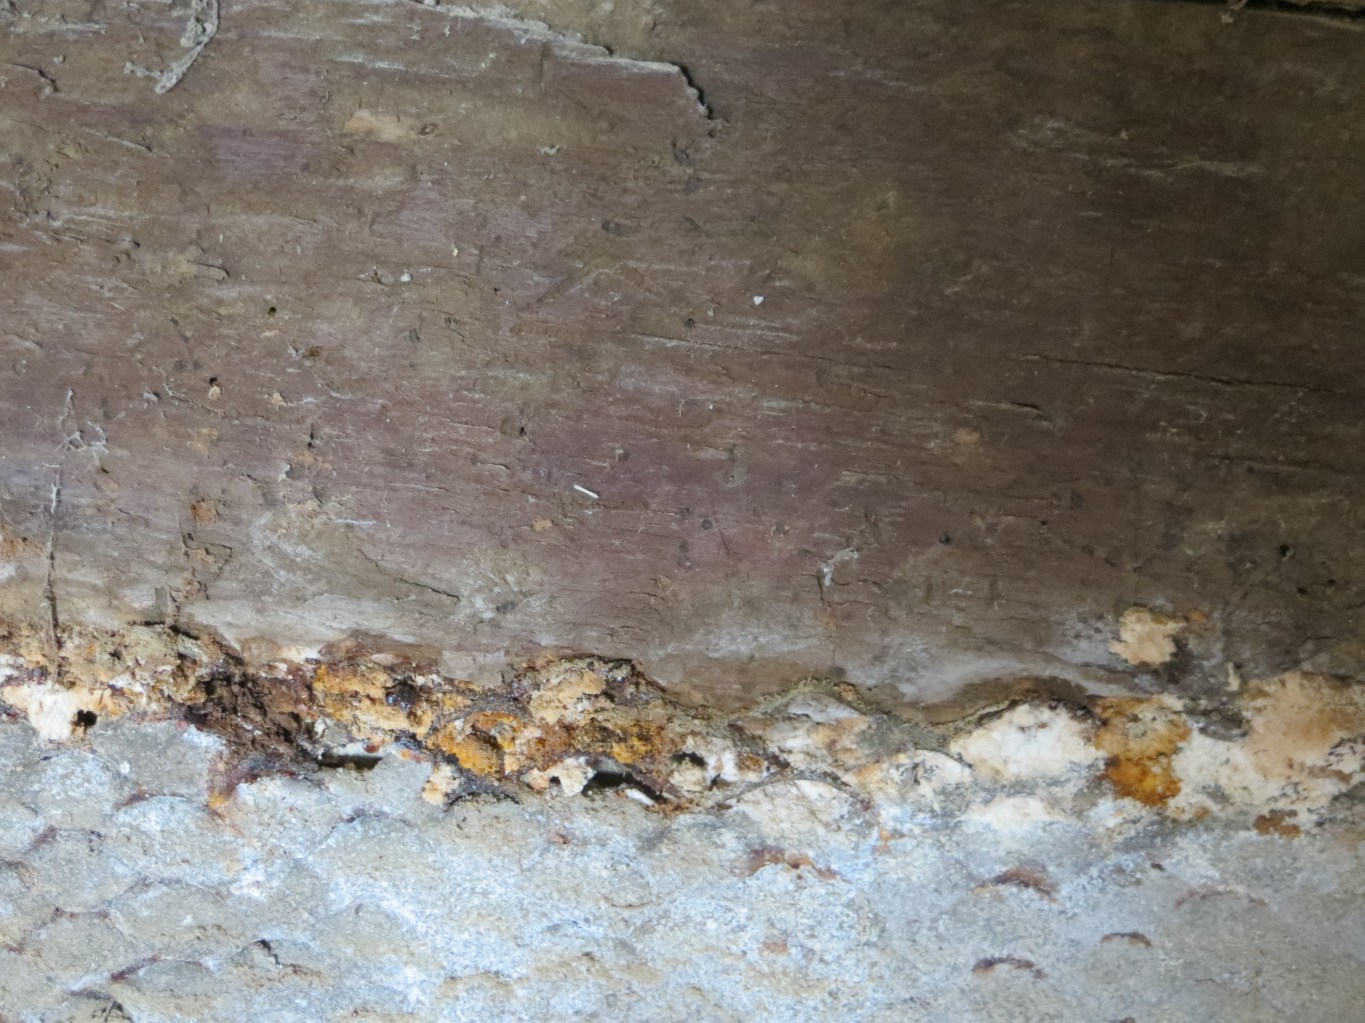
This shows the worst bit where the hard wood is about 2.5 inches deep. While the top of the plate and at least one post tested just above tenon is hard, when pushing a bradawl in, the bottom is decayed: the white stuff is soft like cheese and the bottom part of the wood is crumbling. As you can see, hole left of centre, I was able to push an awl through easily.
The other side of the same wall is in the lean-to kitchen: oven and fridges against a plasterboard wall with no ventilation. The original cottage wall, which you can see if you take away a bit of plasterboard is, as was the front wall, coated with Tyrolean (concrete) render. So we will need to take the kitchen units out, remove plasterboard wall and supports, remove render, repair sole plate and with new oak, leave exposed so it can breath … and then work out how to re-arrange this very small kitchen so the hot elements are not against the timber plate and posts. !

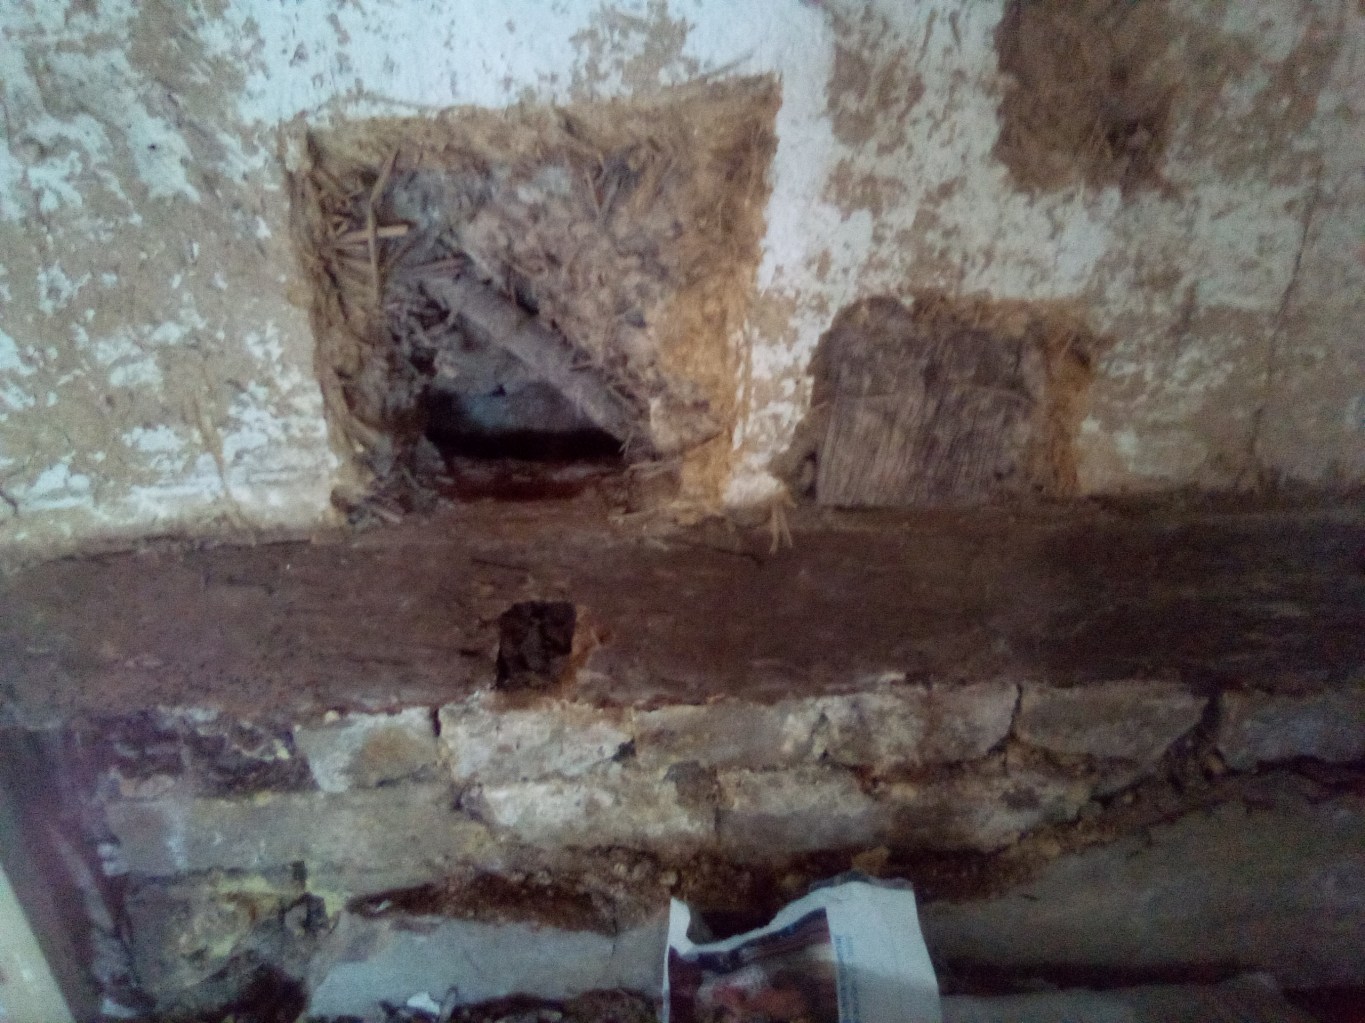
The inside of the lean to roof: its floor is wooden boards and its slope means that placing a pin under the wall plate mounted on an accrow prop would require the pin to be pyramid shaped (base on accrow, peak under plate). So our ingenious engineer has described a method of propping the wall which supports each posts individually (2″x8″ across the wall on each side, with two bolts through them and each posts, and then prop the 2×8) (with 100×100 SSH). We hope this will mean most of the wattle and daub will stay in place as having to reconstitute all of this (as we have been doing for front wall) is both a lot of work and, most importantly, can’t be done till spring as wattles not plenty/springy enough in summer autumn.
