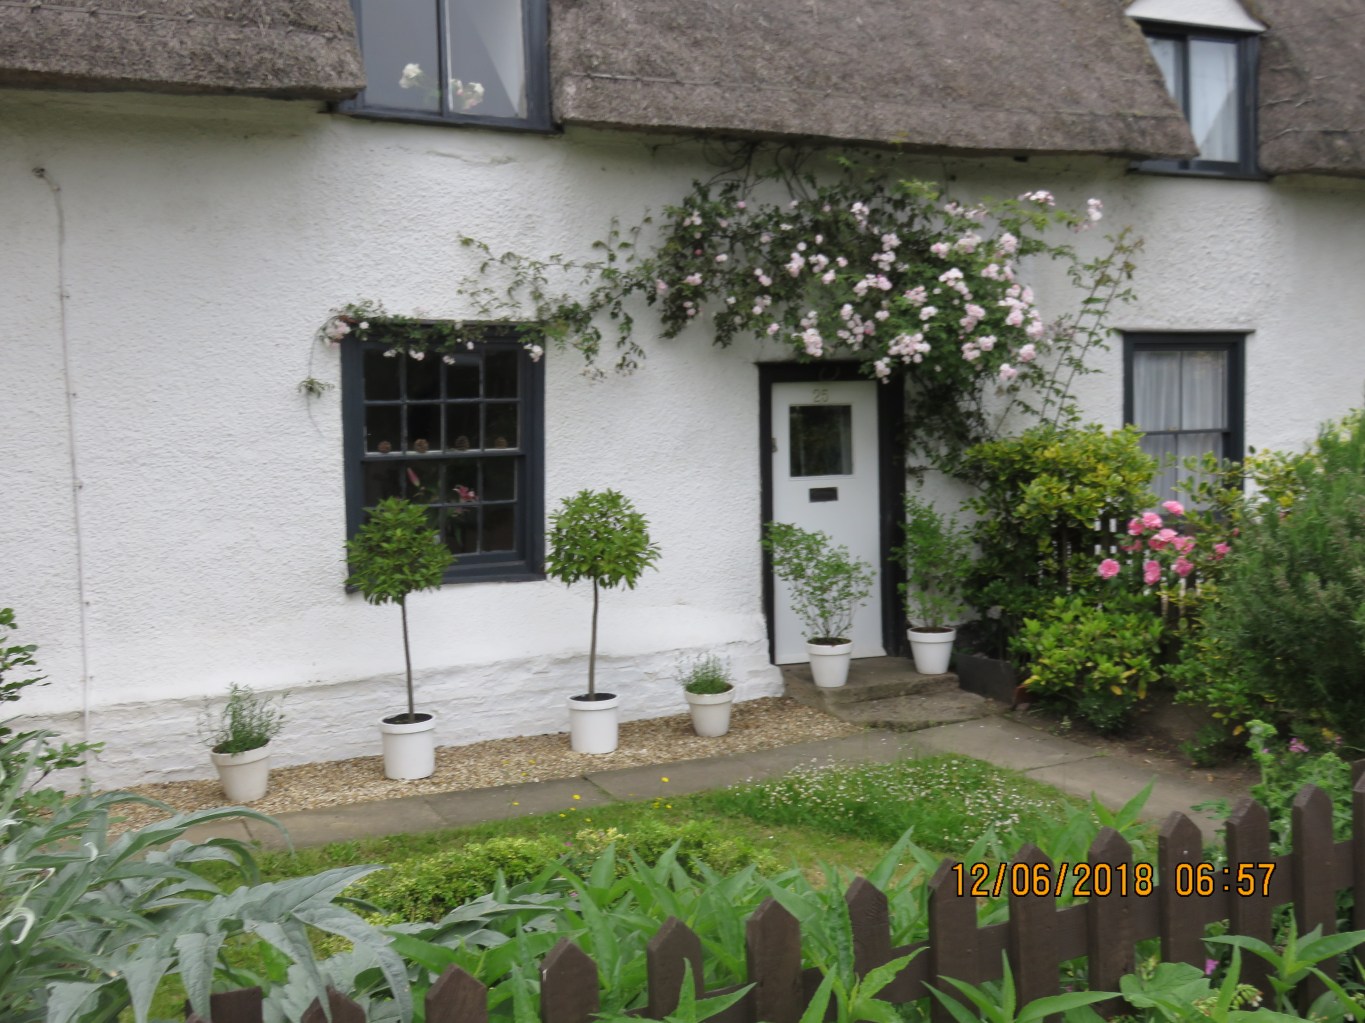
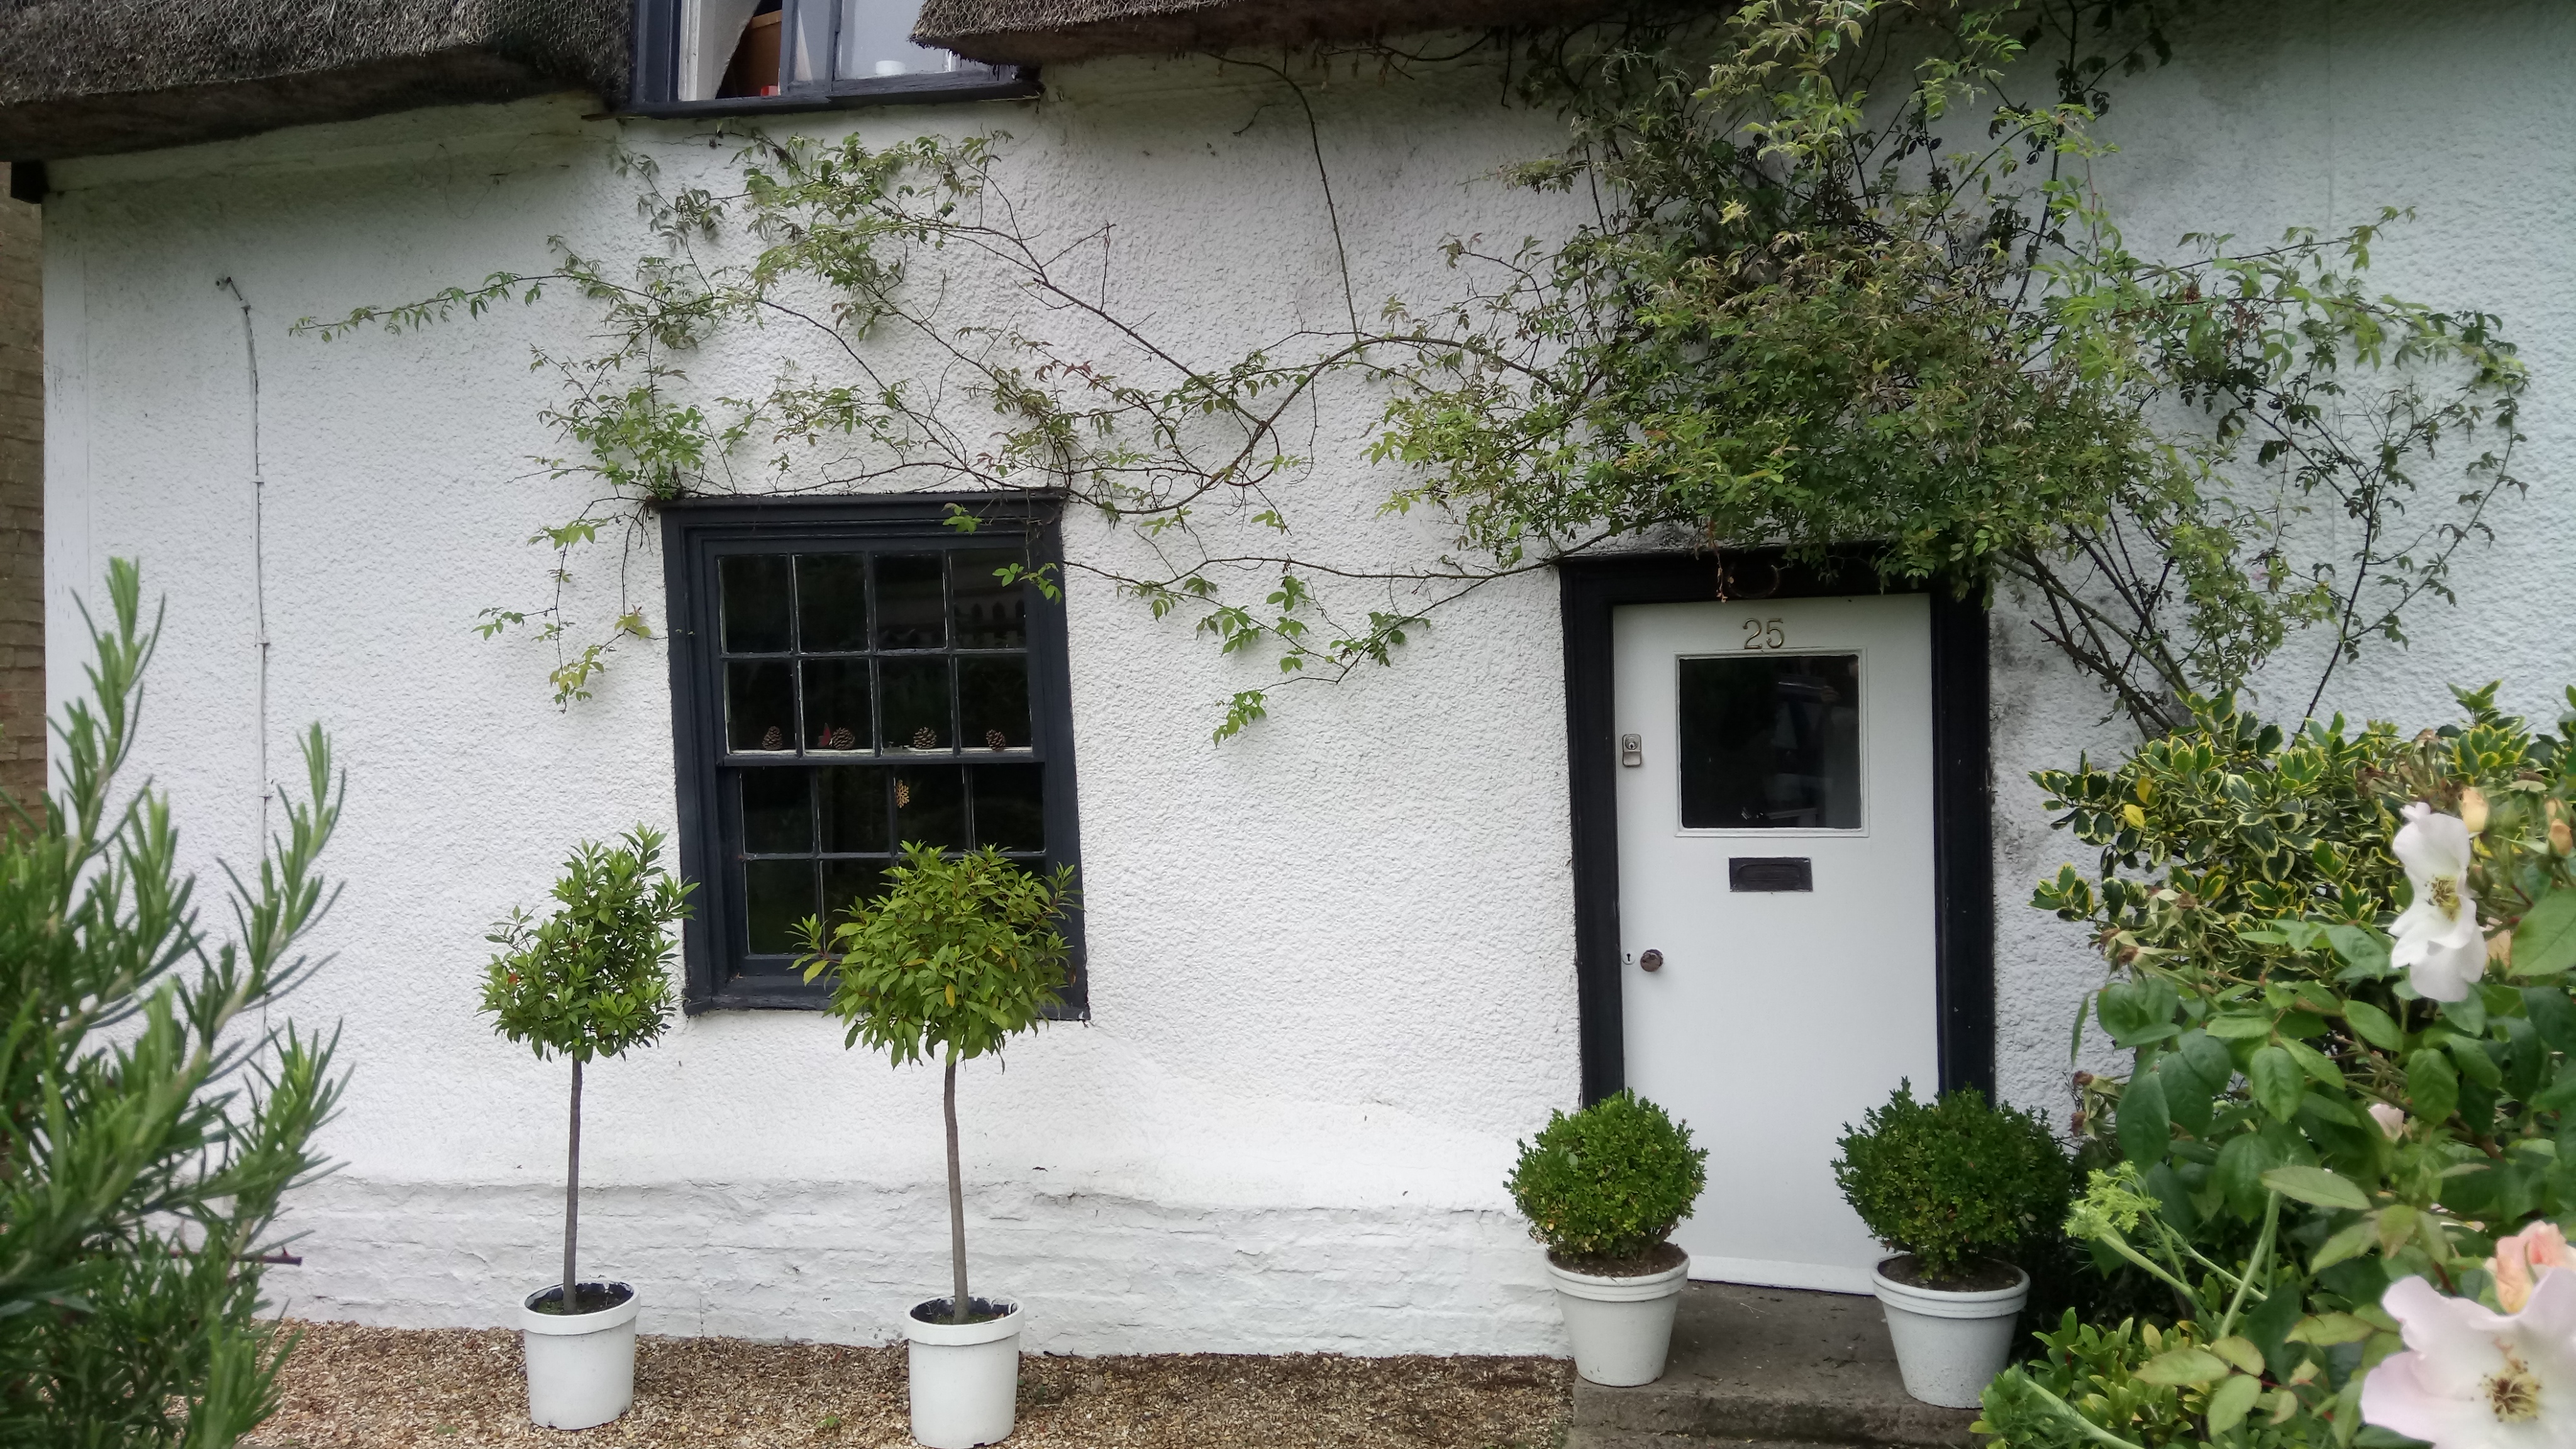
The Cottage Problem
The front wall of our cottage leans out from just above the top of the plinth to the wall plate. Overall about 10 – 11 degree lean in the wall between the window and the door. Its a timber frame – ‘H’ frame – with wattle and daub infills. Its a listed building..

Inspection by engineer recommended we should strap to restrain roof spread, find and fix failed timbers and implement some permanent additional support v roof spread. Engineer also identified decayed wall plate immediately under upstairs window as in need of replacement.

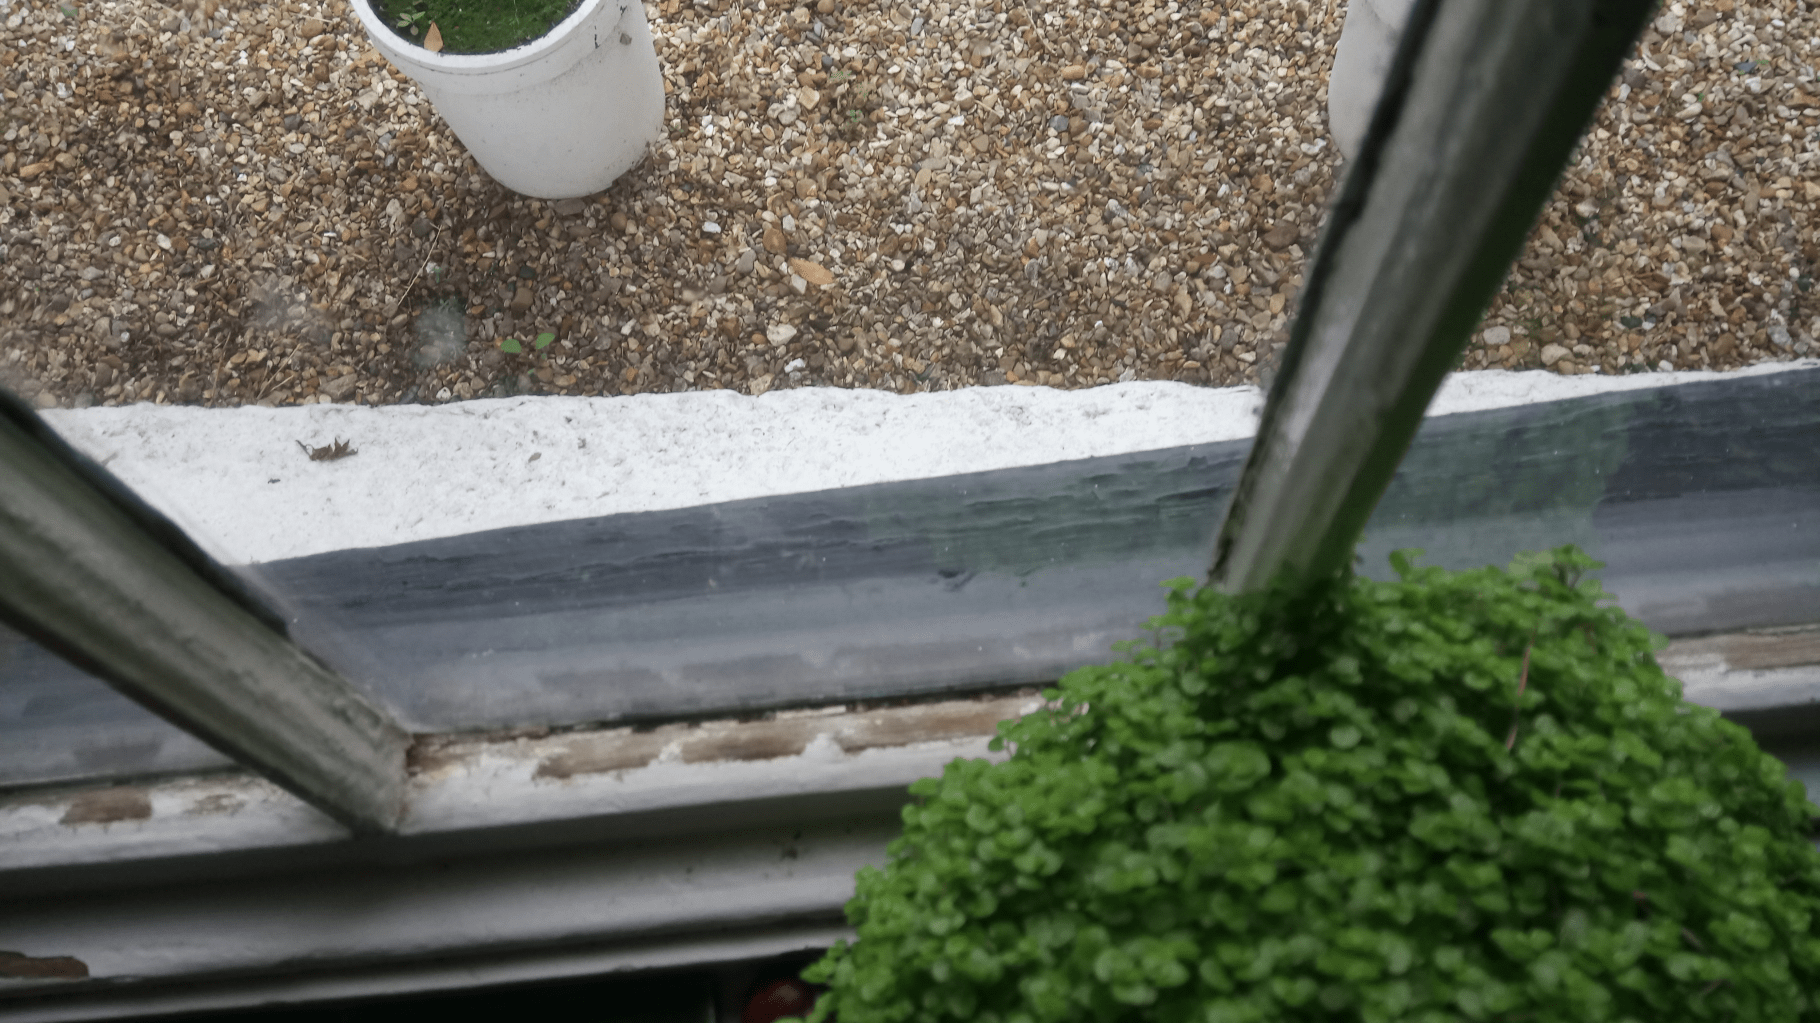
This view taken from the inside show how far the window frame and plinth have parted ways on the left of the frame (from the inside).

Proposed Solution … …
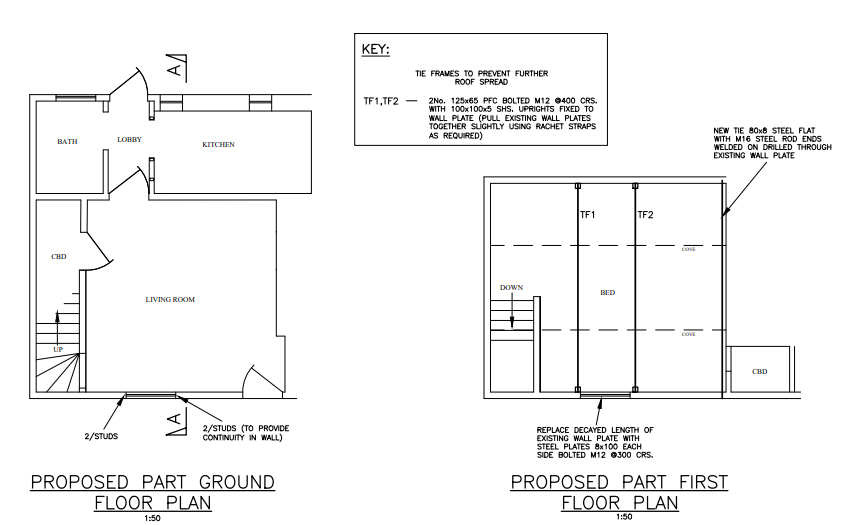
The engineer points to roof spread as the underlying cause of the problem, due to poor original design, and has recommended we add additional support against further roof-spread as the tie collar is in the top 3rd of the roof and its an H frame building – so roof spread inevitable fm the design. This seems an elegant solution – wall plate at front is connected to wall plate at back by a tie frame running alongside the floorboards but with raised arms at either end to meet the wall plate (H frame). The engineer also suggest another tie beam on the party wall.
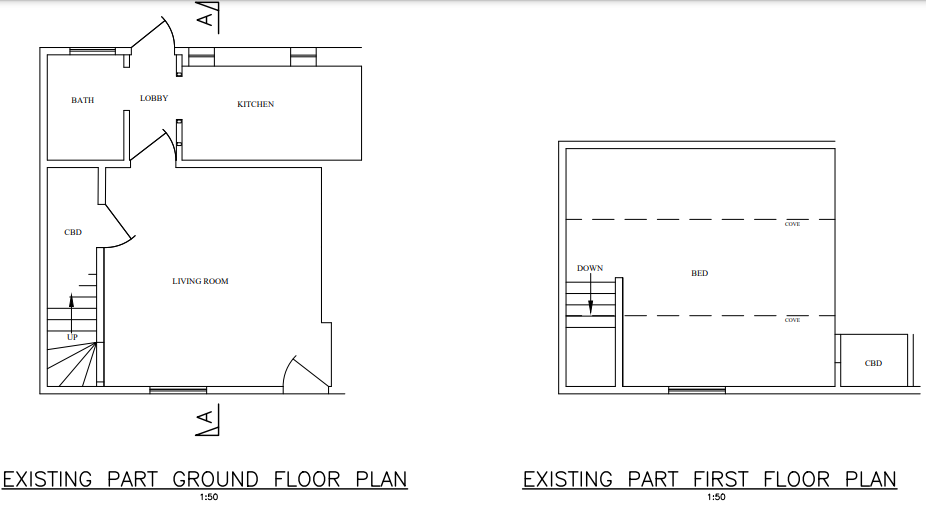
Here are some diagrams showing the cottage and then the proposed additional ties.


Plan of Attack

Repair Phase 1 – Strip, Examine and Prop
We removed the render from the leaning wall: its was 2 inch thick concrete. Concrete is well known to damage timber because it holds onto moisture and keeps timbers damp which over years turns them black and decayed. Removing the render enables you to see the timber structure as the way most building like this are done is to have the outside surface of the wall just covering the timbers a little (whereas inside, a much greater depth of plaster before you get to the timbers).
What do we see?
Repair Phase 2 – Repaired Wall Structure
It took the builder about 3 weeks to complete the structural repairs / rebuild after removing, and putting to one side for re-use, the wattle and daub infills. A new sole plate 6’x8′ was placed and the decayed studs (5 out of 7) replaced with new – all air dried oak. The steel ties added to hold together the back and front wall plates to prevent any further roof spread sit neatly between the 1st floor joists. The engineer who specified the repair (fm CG Robertson) has visited and commended the builders work.
Boxed in for weather protection and security.

The new posts and braces

A substantial sole plate 6’x8′ on the original plinth.
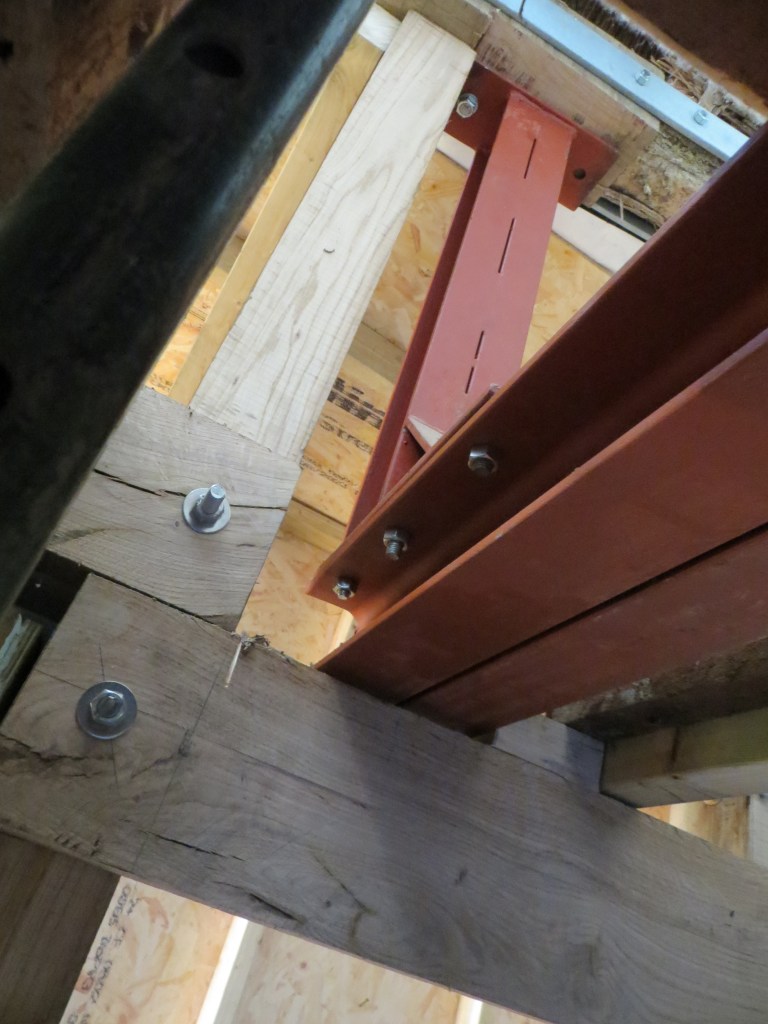
Close up of one of the two steel tie beams that hold front and back wall plate together to prevent roofspread

Temp and Olde Front Door
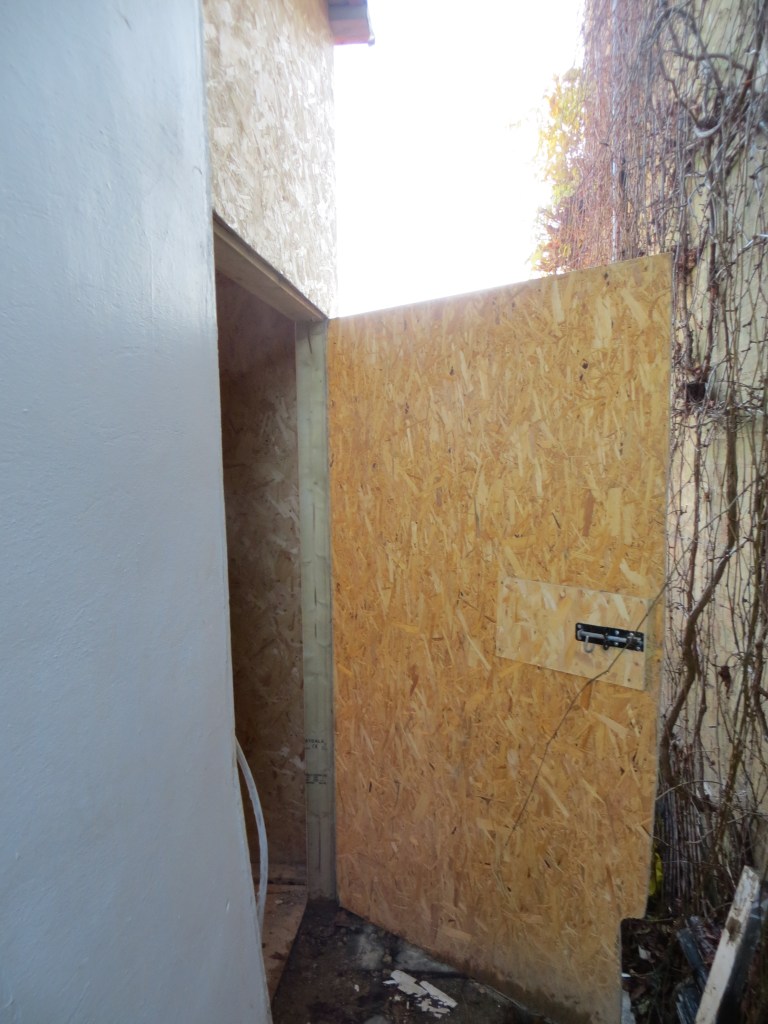
Temp side door
TO DO – Repair Phase 3 – Rebuild Infills, Plaster Tidy Up
With the structural work finished in November we no have to wait until warmer weather before we can re-use the daub / re create the infills. Daub (‘mud’) needs a constant 15 degrees temp over a 4 to 8 week period to fully dry out and you can’t apply plaster or other finishes to it before that.
